
In the next article we are going to take a look at how to install the Rust programming language. We will also see how to compile and run a basic application with Rust. This is a compiled, general-purpose programming language that is being developed by Mozilla. According to its developers, it has been designed to be «a safe and practical language«. It supports pure functional, procedural, imperative, and object-oriented programming.
Rust is a programming language that is relatively new. It promises to create fast and secure applications. Companies like Atlassian, Chef, CoreOS, and DropBox are using Rust. Per Mozilla policy, Rust is developed in a totally open way and seeks input and input from the community.
Rust's main goal is to be a good language for creating great programs, client and server side, that run on the Internet. This placed special emphasis on security and memory distribution control. The syntax of this language is similar to that of C and C ++, with key-delimited code blocks and flow control structures such as if, else, do, while y for.
The language design has been refined through experiences in the development of the Rust compiler itself and the Rust engine. servo navigator. Although it is developed and sponsored by Mozilla and Samsung, claims to be a community project. A large part of the progress comes from community members.
If someone needs more information about this language, they can consult the much documentation that exists about it. We can find on their website from the essential book about Rust to official documentation.
Install Rust on Ubuntu 18.04
This programming language can be installed in a very simple way. Enough with use curl. In case we don't have it installed, we can get hold of it by typing in a terminal (Ctrl + Alt + T):
sudo apt update && sudo apt install curl
Once we have curl installed, we can launch the installation. For this we write in the same terminal:
curl https://sh.rustup.rs -sSf | sh
During the installation we will see something like what can be seen in the following screenshot.
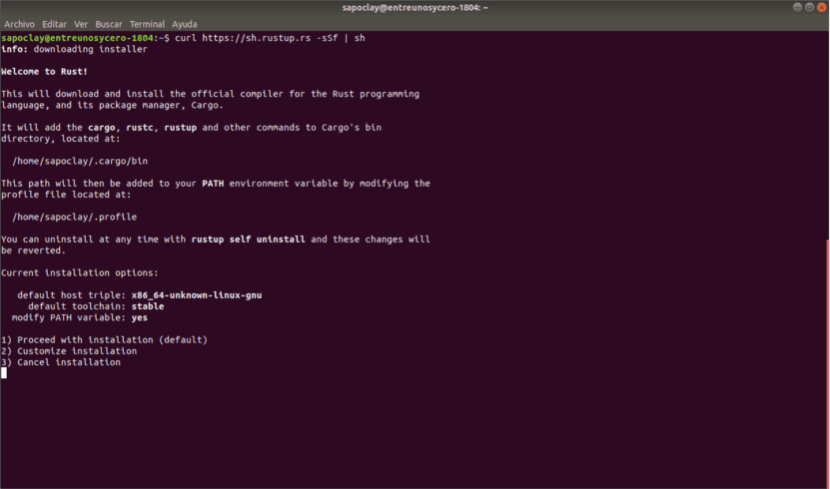
At this point, it will be necessary to press 1 to continue with the installation. After the installation is finished, we will see the message that we need configure the environment to run the Rust compiler. We are going to solve this by typing in the terminal:
source $HOME/.cargo/env
This command will not show us anything, but despite this, we can be sure that our environment is ready to start compiling the Rust programs. We will only have to do this once. The next time you log into the terminal, it will load automatically.
During the previous installation, several packages will be installed:
- cargo - The package manager used by Rust.
- rust c - The current Rust compiler.
- rust up - The Rust installer that was downloaded and run.
Although they were installed correctly, I had to install the gcc compiler higher for correct operation.
Sample application with Rust
After the installation is finished, it is time to test it. So we are going to write the typical program to start with any programming language. We open our favorite editor and create the following file:
sudo nano ejemplo.rs
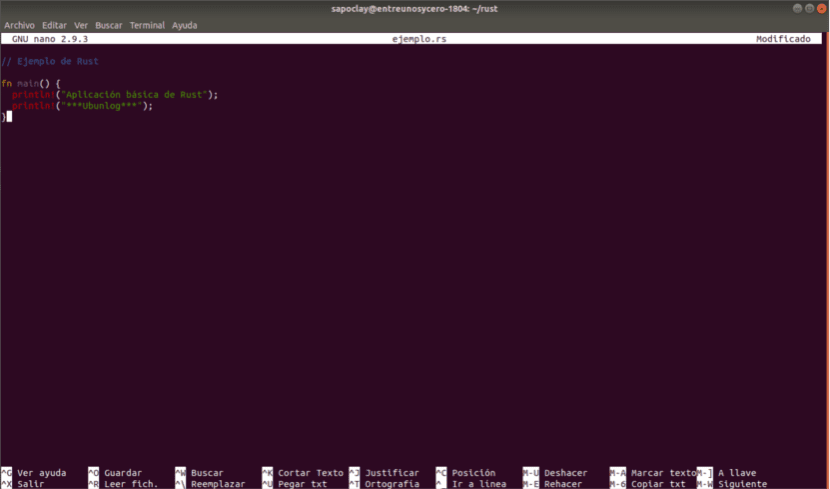
Inside the editor we paste the following lines:
// La aplicación más básica

fn main() {
         println!("Aplicación básica de Rust");
         println!("***Ubunlog***");
}
I'm not going to go over what each line means, but it should be pretty obvious that it will print a couple of lines of text. If you are interested see more Rust examples, you can consult the Examples documentation by Rust.
Once the file is saved, in this case with the name example.rs, we already have our source file. Now we can compile it to create the executable:
rustc ejemplo.rs
If everything has gone well we will see that the terminal will not show us anything. If there is an error, you will see a message about it.

As we can see in the screenshot, an executable file has been created, which has the same name as the source file. This can be run to see our sample application:
./ejemplo