
In the next article we are going to take a look at Gifski. This program will allow us create gif images high quality, either using a video or with a set of images. It is a multiplatform and open source program. This application is a high quality GIF encoder based on Pngquant.
If anyone doesn't know, pngquant is a lossy PNG image compressor that we can use from the command line. Many people on the net assure that pngquant is one of the best lossless PNG compressors What can we find. Compress PNG images up to 70% without losing original quality and retain full alpha transparency. The resulting compressed images are compatible with all web browsers and operating systems.
Since Gifski is based on Pngquant, it uses its features to create GIF animations. This program is capable of creating animated GIFs that use thousands of colors per frame. Gifski also requires us to have ffmpeg to convert video to PNG images.
Gifski installation
Previous requirements
We'll have to make sure we have installed FFMpeg and Pngquant in our Ubuntu before getting into the Gifski installation.
FFmpeg is available in the default repositories of most Gnu / Linux distributions. For this we can install it using apt. We open a terminal (Ctrl + Alt + T) and write:
sudo apt install ffmpeg
For install pngquant, in the same terminal, we are going to execute:
sudo apt install pngquant
Install Gifski
After installing the prerequisites, we can now install Gifski. We will have different installation possibilities. The first will be install it using charge, if we have installed the Rust programming language. Once this language is installed, in a terminal (Ctrl + Alt + T) we write:
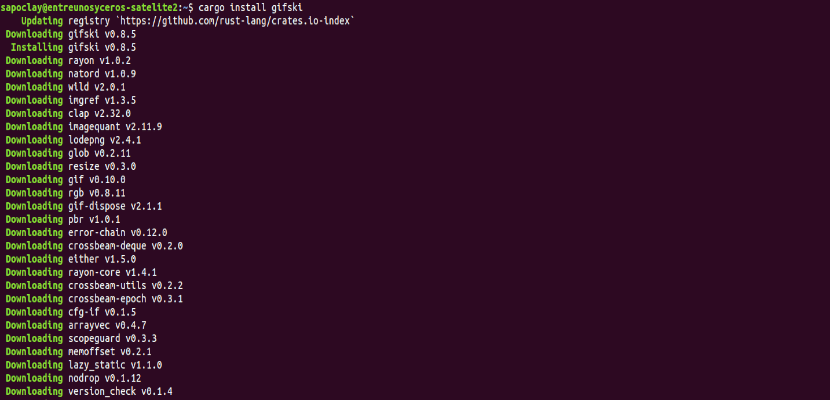
cargo install gifski
We can also get hold of this program using the package manager linuxbrew.

brew install gifski
If you don't want to install cargo or Linuxbrew, download the latest binary executables from the releases page and compile and install gifski manually.
Create GIF animations with Gifski
We start by going to the location where we save the images. In this example they are all .PNG. There we will execute the following command to create a GIF animation from the set of images of which we have:
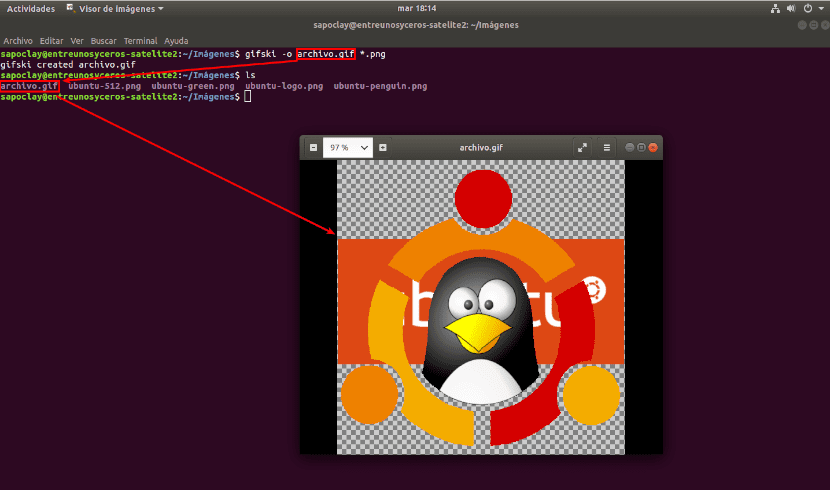
gifski -o archivo.gif *.png
I want to clarify that doing this example, all the images I used had the same size.
Gifski features available
Gifski also has some features with which we can:
- Create the GIF animation with a specific dimension.
- Show a specific number of frames per second.
- Encode with a specific quality.
- Code faster.
- We will also be able to encode images exactly in the order given.
For create a GIF animation with a specific dimension, for example width = 512 and height = 490, use the following command:
gifski -o archivo.gif -W 512 -H 490 *.png
We can set the number of frames per second we want in the gif animation. The default is 20. To do this, run:
gifski -o archivo.gif --fps 30 *.png
We can encode with a specific quality on the scale of 1-100. Obviously, lower quality can give a smaller file and higher quality a larger one in our GIF animation.
gifski -o archivo.gif --quality 40 *.png
Gifski will take longer when encoding a large number of images. To do what the encoding process is 3 times faster than usual speed, run:
gifski -o archivo.gif --fast *.png
Keep in mind that will reduce the quality to 10%.
To encode images exactly in the given order we will use the –nosort option. Here you can replace * .png with the file names and their extensions, in the order that interests us the most.
gifski -o archivo.gif --nosort *.png
Create GIF animation from video file
Sometimes it is possible that we are interested in an animated file taken from a video. This is where FFmpeg can help us. First you have to convert video into PNG frames with the following command:
ffmpeg -i video.mp4 frame%04d.png
The above command makes the image files'frame0001.png", "frame0002.png", "frame0003.png', etc…, from the video.mp4. The characters% 04d will generate the frame number. This command will divide the entire video into images, which are saved in the current working directory.
After converting the video into images, just run the following command to create the animated GIF file.
gifski -o archivo.gif *.png
Help and information
For more details, we can consult the help section of the program by typing:
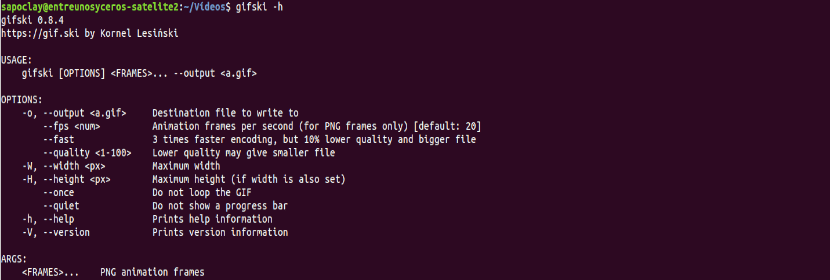
gifski -h
If anyone needs more help or information about gifski, you can consult the project website. We can also get more information from pngquant in your web page .