
In the next article we will take a look at how install Minecraft Java Edition in different ways on Ubuntu 18.04. This is a game that has already been talked about on other occasions in this blog. With it we can build houses, find food, fight enemies and much more. This game has several game modes. We can play online with friends, as well as in single player mode.
Minecraft now is owned by Microsoft and is not free. Despite this, it is one of the most popular games in the world. In this article, we are going to see how to install it using the package downloaded from the official website. Then we will also see how to install it as a Snap package and we will end up seeing its installation using the APT package manager.
Installing Minecraft Java Edition on Ubuntu 18.04
Download from the official website
Minecraft is written with Java. For this reason, to run Minecraft we must have Java Development Kit (JDK) installed on Ubuntu 18.04 machine. JDK is available from the official Ubuntu 18.04 LTS package repository. Therefore, it can be easily installed.
Before proceeding with the installation, we are going to update the APT package repository cache with the following command in the terminal (Ctrl + Alt + T):
sudo apt update
Behind this, we will install Open JDK 8 with the following command:
sudo apt install openjdk-8-jdk
After the installation, we can check if JDK is working with the following command:

javac -version
Arrived here, we can go to the site official website. We should see the next page.
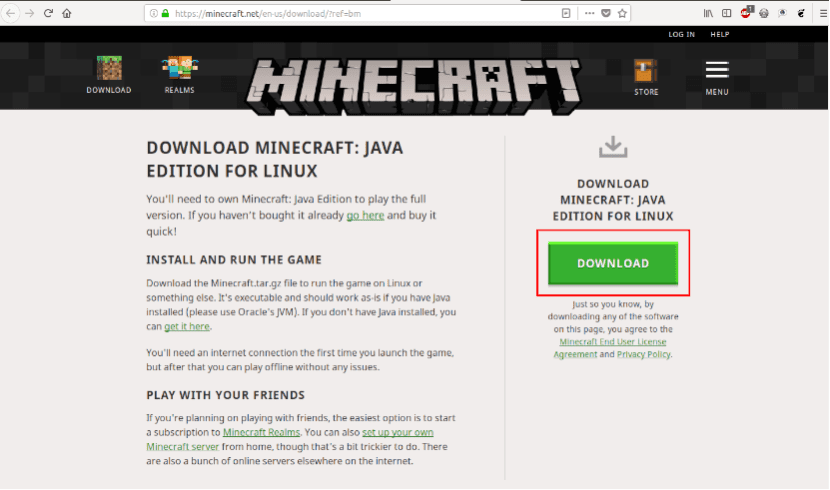
We continue by clicking the button Download. It is located where indicated in the previous screenshot.
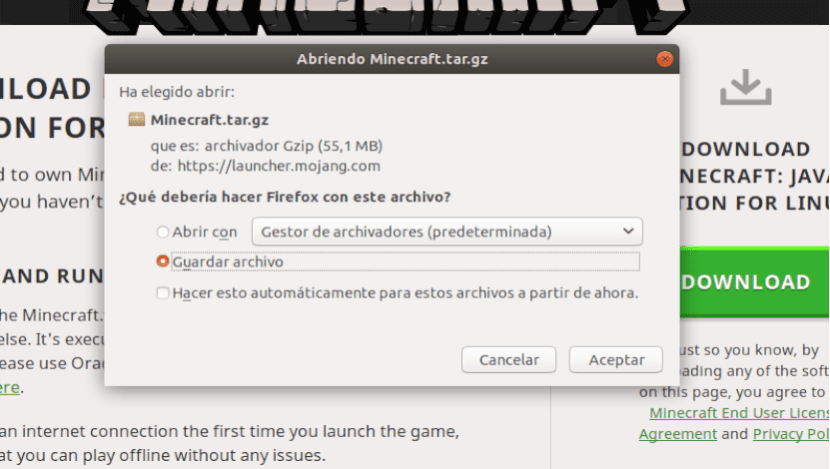
Then we will see that we can save or open the compressed file. Unzipped this, we go to the folder to be created. Inside we will find the following files:

To launch the program, we will have to execute the file marked in the previous capture. It may be that we find that at first it returns the following error:

If so, we will solve it with the following script:
sudo add-apt-repository universe && sudo apt update && sudo apt install -y libgconf-2-4
Run Minecraft Java Edition
This should solve the problem. Now we can re-launch the .sh file from before:
./minecraft-launcher.sh
If all goes well, you should see the following window.
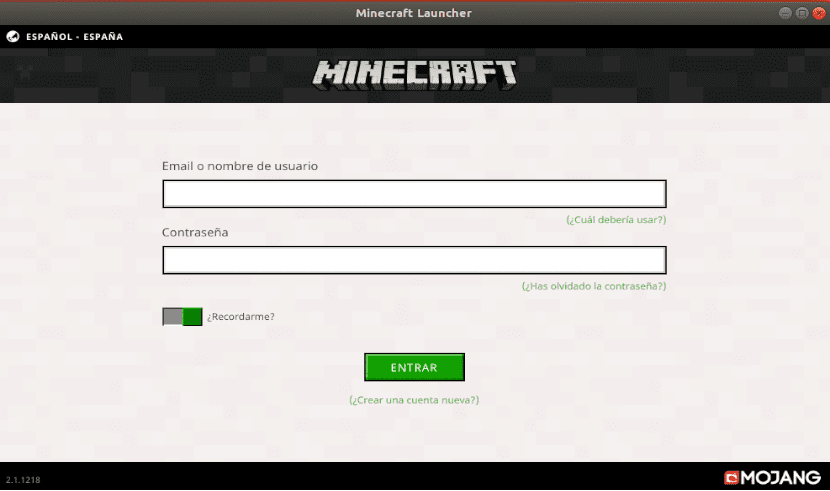
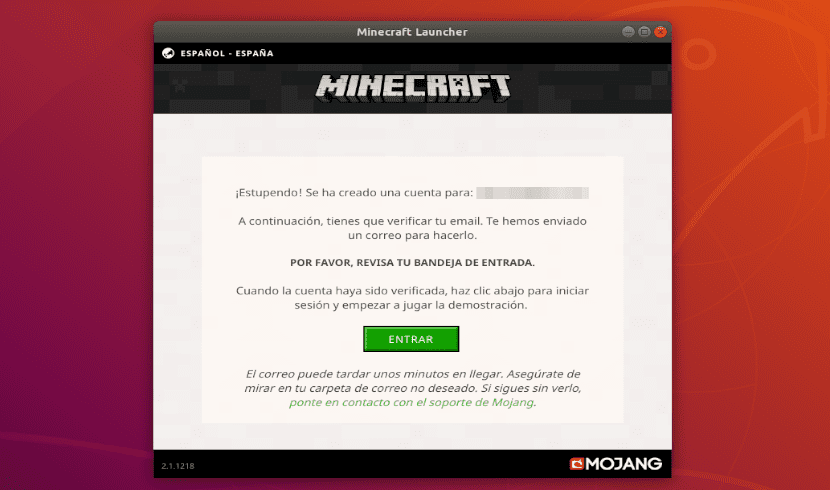
On the screen that opens before us we can log in to Minecraft. If you already have an account, enter your credentials and click Sign in.
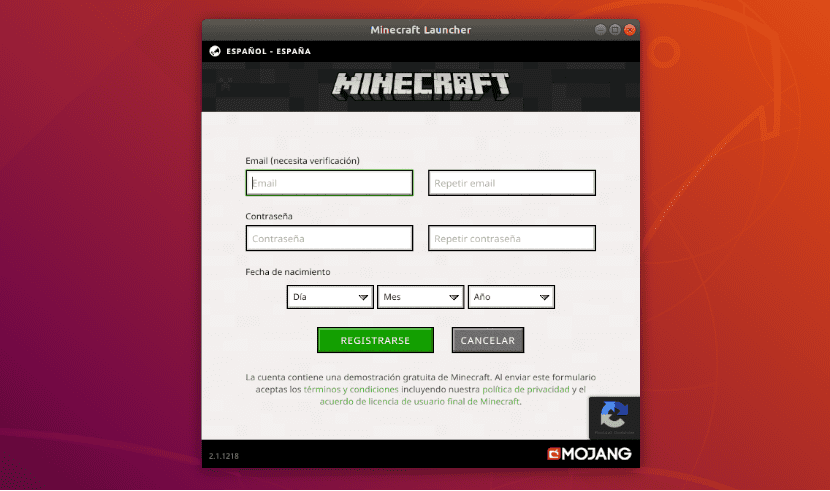
If you don't have an account, just click «Create a new account«. A new window will open for registration. Enter your details and click on «Sign Up«. We will have to validate the account created by email.
Minecraft is not free. At the time of writing this, a copy of Minecraft will cost about € 23,95. If you only register and do not buy the game, at the time of this writing, you should be able to play a few hours for free. The hours available are indicated to us at the beginning of the game.
The demo version is good enough for users who want to try the game before purchasing. If your team can run this game and you like it, then you can opt to buy.
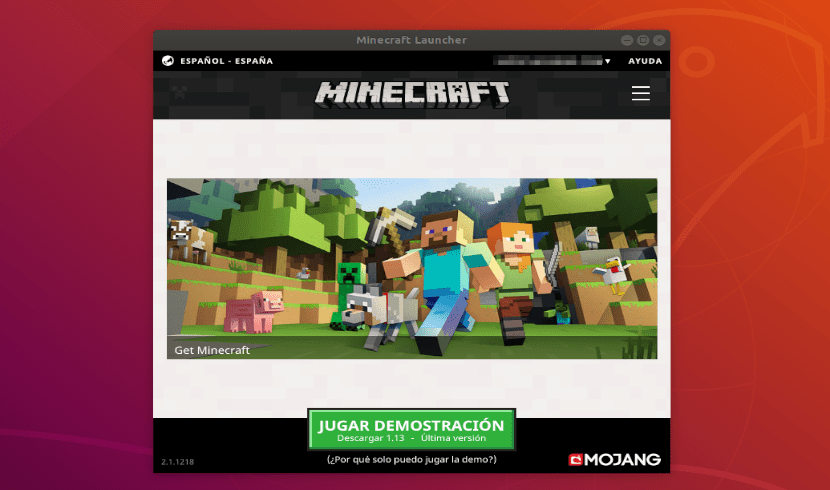
As you can see, I have logged in with a free account. Now we will click on "Play demo”. Moving forward from screen, the demo version of the game should be downloaded, as you can see in the following screenshot.
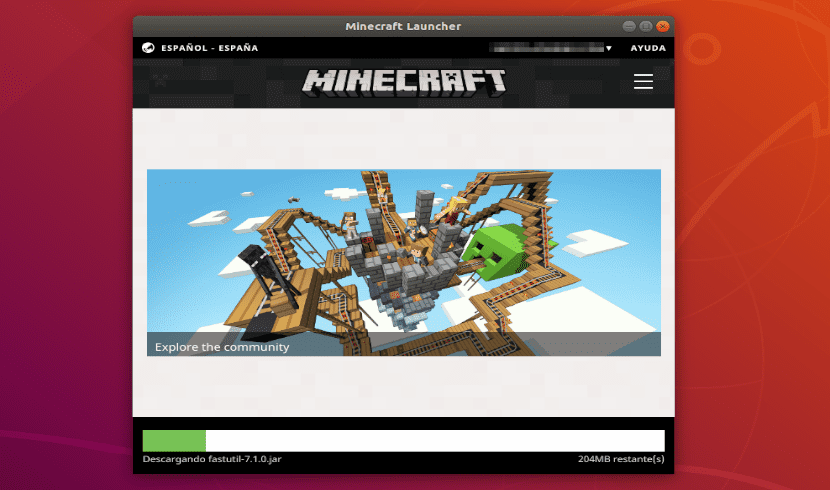
Once the download is complete we will see the game start screen.
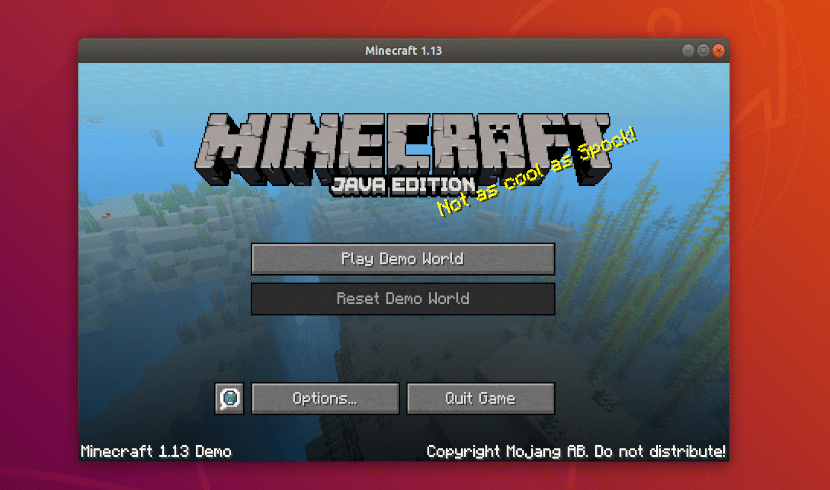
Minecraft Java Edition should start after clicking “Play Demo World”.
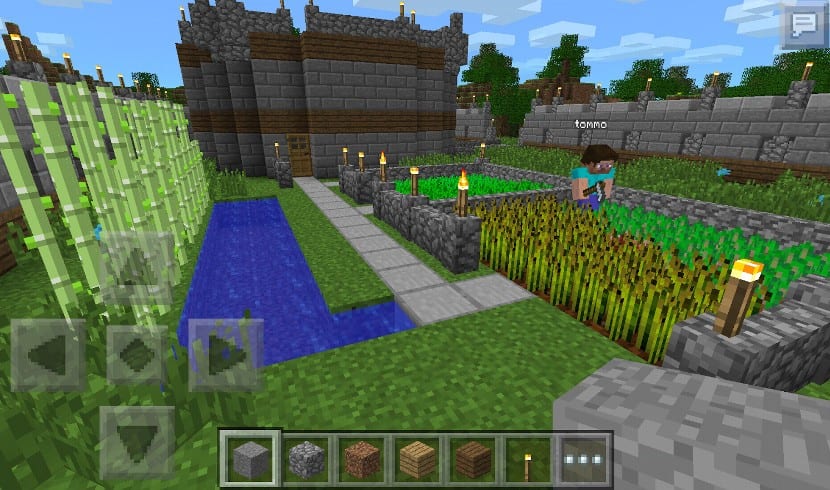
Minecraft Scenario
Installation with the Snap package
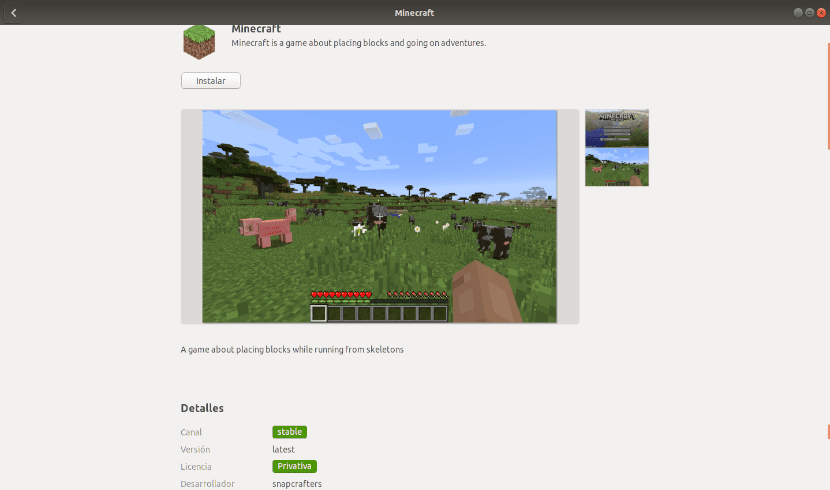
This game is also available as snap package in Ubuntu 18.04 LTS. We can do this installation from the Software option or by executing the following command in the terminal (Ctrl + Alt + T):
sudo snap install minecraft
After the installation is complete, you should be able to launch the game from the applications menu.
Installation using the unofficial PPA
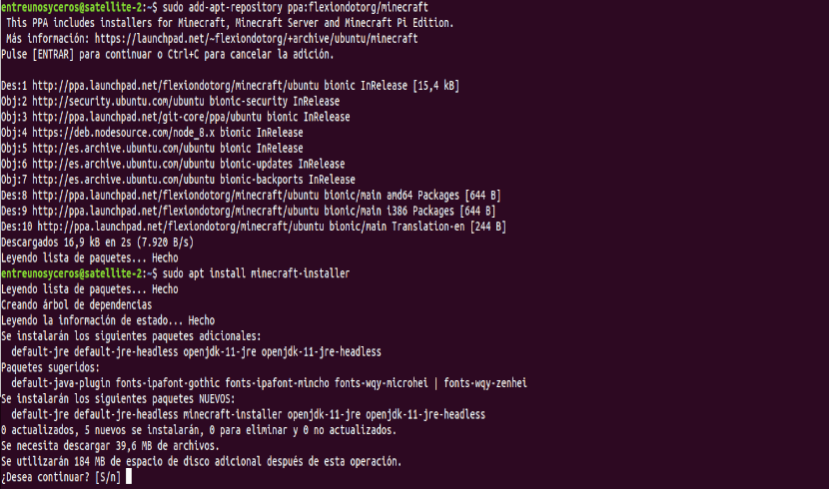
The last of the options to install Minecraft Java Edition that we are going to see is using the APT package manager. We just have to add the unofficial PPA. To add it, we will open a terminal (Ctrl + Alt + T) and execute the following command:
sudo add-apt-repository ppa:flexiondotorg/minecraft
The PPA must be added and the list of available software updated. Now we can execute this command to Install the Game:
sudo apt install minecraft-installer
Using the APT package manager should start downloading the Minecraft packages and their dependencies. In a few minutes, the game should be installed. Once it's installed, you should also be able to find it in your Ubuntu 18.04 LTS application menu.
I did not understand very well I would like if they make a video to understand better
please
What part have you not understood?
The part where it says it's not free 🙁
Thank you very much download the java 8 and download a pirate minecraft thanks aaaaaaaaaaaaaaaaaaaaas
I downloaded minecraft from the official website but it has the extension .deb, what should I do?
Hello. You can open that file with the Ubuntu software option or open a terminal (Ctrl + Alt + T) and use dpkg:
sudo dpkg -i nombredelarchivo.debSalu2.
Play